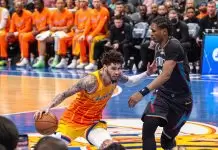

You have captured the game-winning shot, the athlete flying through the air, the crowd cheering, but when you go to look at the photo later, it is soft, grainy, or flat. Why is that?
Sports photography is one of the hardest genres to shoot in. Fast action, poor indoor lighting, and unpredictable moments make even the best cameras in the world work at their limit. This is why so many sports photos need some post-process work before they really sparkle.
In this guide, you will learn the two basic ways to fix and polish your sports photos: the easy AI Method, including AI photo enhancer and AI plugin in photo editors, giving you quick and easy results automatically, and the Manual Method, which is for those who like more control.
Step 1: Culling and Cropping: The Foundation of Quality
Before doing any sort of editing, first start with culling your shots. This is a process of looking through and filtering your shots very carefully. Each shot should be enlarged to see what point the camera focused on.
Eliminate the shots that missed focus in which the background or even the ads are sharp, but not the athlete. Even the most advanced AI tools are unable to cure these shots. It’s best to eliminate them quickly, then move on to what can be salvaged.
However, do not eliminate every shot that is marred by motion blur. If the athlete’s body is sharp but has a trailing bit of movement, that’s perfectly all right. These often can be improved later in AI or sharpness tools. Sometimes that tiny bit of blur, which may be common in sports shots, even adds to the feeling of motion in your photo.
Next, move on to cropping. With modern high-resolution cameras and even today’s smartphones, you have room to crop tightly. Remove distracting elements like other players, spectators, or background clutter. A tighter crop directs attention to the athlete and gives the photo stronger storytelling power.
MORE FOR YOU
Cropping is the simplest way to make a photo look sharper and more dramatic. By cutting away the noise, you highlight what really matters, the action.
Step 2: The AI Method: Simple, Fast, and Powerful
Artificial Intelligence has changed the way photographers edit their photos. For most amateurs, AI is the fastest and easiest way to fix problems without learning complicated editing software.
1. Simple One-Click AI Photo Enhancer
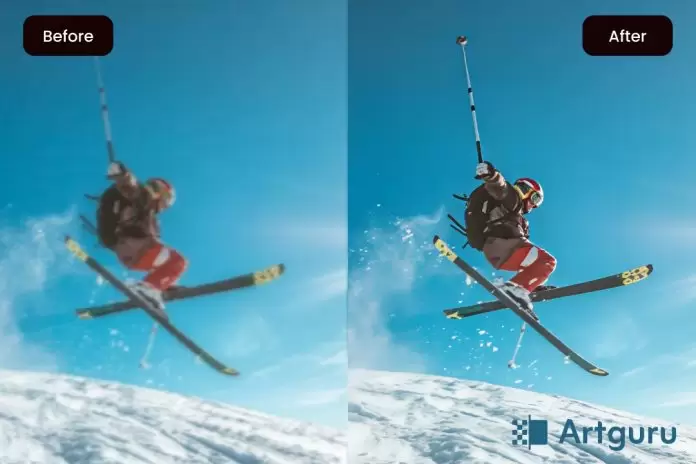
If you just want quick results, AI image enhancers like Artguru or similar online editors can do wonders. Simply upload your photo, and the AI automatically cleans it up. It sharpens the subject, removes grain, and enhances detail, all in a single click.
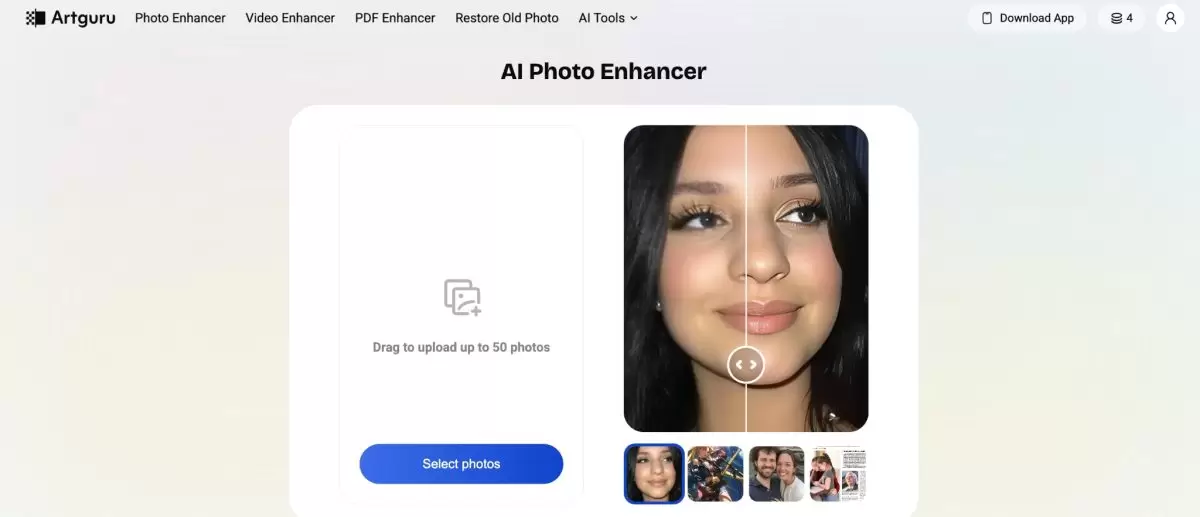
These tools are ideal for beginners who want fast improvements without worrying about sliders or layers. You get a clear, crisp image in seconds.
2. Advanced AI Plugins and Features
For those already using professional software like Adobe Lightroom, Photoshop, or dedicated apps like Topaz Photo AI, the results can be even better. These programs use advanced machine learning models trained on millions of photos. They can recover fine details, remove noise intelligently, and even correct slight motion blur.
The AI features in these programs handle multiple problems at once:
- Noise and Detail: They remove digital grain while keeping small details intact, even in low-light gym shots.
- Sharpening and Blur: AI can detect edges and subjects automatically, sharpening only the parts that matter and even fixing light motion blur.
- Resolution (Upscaling): If you cropped too much and lost pixels, AI upscaling can increase your image resolution, making it suitable for larger prints or online use.
With just one or two clicks, AI does the heavy lifting that used to take photographers hours of manual work. It’s fast, efficient, and surprisingly powerful.
For most amateurs, the AI Method might be all that’s needed after culling and cropping. It turns decent shots into stunning, print-worthy images without much effort.
Step 3: The Manual Method: For Basic Control
Sometimes, though, you might not love the AI result. Maybe the photo looks too smooth or unnatural. Or maybe you want to make smaller, more personal adjustments. That’s where the Manual Method comes in.
Almost every editing program, from Lightroom and Photoshop to free phone apps like Snapseed, includes two key tools: Noise Reduction and Sharpening. Knowing how to use these properly gives you better control over your final image.

Manual Noise Reduction (Denoise)
Noise reduction helps smooth out the “grain” or “speckles” you see in photos taken in poor light, such as indoor sports events. But this tool isn’t smart, it softens everything, including the fine details you want to keep, like facial features or fabric texture.
If you push the slider too far, your photo will start to look fake, with skin turning plasticky or wax-like. The trick is to move the slider slowly to the right until the most distracting noise is gone, but some natural texture remains. A little grain is fine, it gives the photo life and realism.
Manual Sharpening
Once the noise is under control, you can make your subject stand out by adding a touch of sharpening. This tool enhances the edges in the photo, making the athlete’s face, uniform, and ball appear crisper.
Some apps also include a Clarity or Texture slider. These don’t sharpen edges but increase midtone contrast, adding punch and depth. Be careful, too much sharpening creates white halos, while too much clarity makes skin look rough and unnatural.
For most users, a small amount of sharpening is enough. Use it as the final step after noise reduction. The goal is subtle enhancement, not an artificial look.
Conclusion
After cropping your photo, you have two clear paths: the AI Method, which delivers fast, professional-looking results with minimal effort, or the Manual Method, which lets you fine-tune every detail. Both can dramatically improve your sports photos when used wisely.
Post-processing isn’t just an optional extra, it’s an essential part of the craft that helps your images truly stand out.
So, which approach will you try first, the new AI tools or the classic manual controls?